Add Custom CSS to Your WordPress Site
Customizing the look and feel of your WordPress site is essential for branding and creating a unique user experience. While many themes offer some customization options, adding custom CSS (Cascading Style Sheets) gives you the most flexibility to tailor your site’s design. The UltimaKit for WP plugin makes this process simple and user-friendly.
What is UltimaKit For WP?
UltimaKit for WP is a versatile WordPress plugin that offers various tools to enhance your website’s functionality and design. One of its features is a built-in custom CSS editor, providing a convenient way to add your own styles without needing to edit theme files directly.
Why Use Custom CSS?
- Precise Control: Target specific elements or sections of your website.
- Non-Destructive: Your changes won’t be lost if you update your theme.
- Customization: Achieve the exact look you envision for your website.
- Easy Reverting: Undo changes if needed.
How to Add Custom CSS using UltimaKit For WP:
- Install and Activate: If you haven’t already, install and activate the UltimaKit For WP plugin from the WordPress repository.
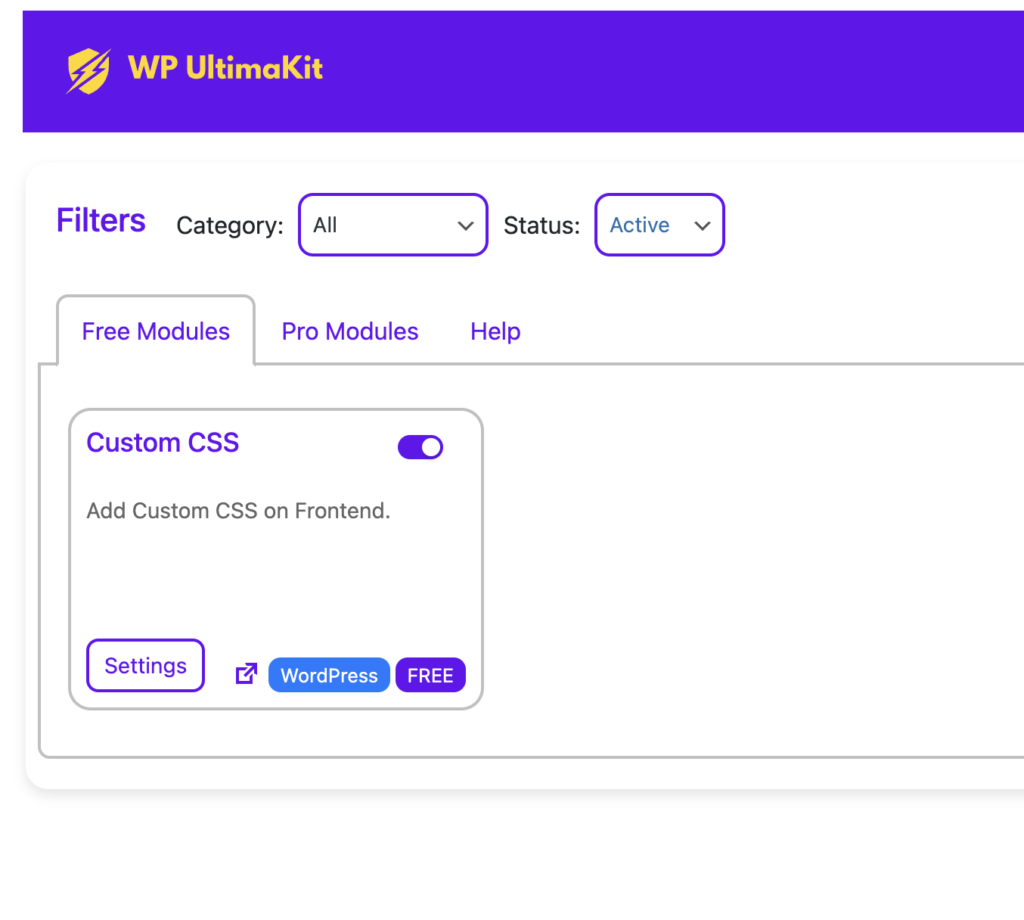
- Access the Custom CSS Editor: Navigate to “UltimaKit For WP” in your WordPress dashboard, then click on “Custom CSS.”
- Write Your CSS Code: Enter your CSS code in the editor. You can use standard CSS syntax to style various elements on your site. Be sure to start each rule with the appropriate selector (e.g.,
.class-name,#element-id,p,h1) to target the desired elements. - Save and Preview: Click the “Save Changes” button. Your custom styles will be applied immediately. You can preview your site to see how the changes look.

Tips and Best Practices:
- Use a Child Theme: If your theme allows it, create a child theme and add your custom CSS there. This will ensure your changes are preserved when updating the parent theme.
- Organize Your Code: Keep your CSS organized for easy maintenance. Use comments to describe different sections of your code.
- Validate Your CSS: Use a CSS validator to catch errors and ensure your code is valid.
- Test on Different Devices: Make sure your custom CSS looks good on various screen sizes and devices.
Example Custom CSS:
/* Change background color of the header */
.site-header {
    background-color: #f0f0f0;
}

/* Style the main navigation menu */
.main-navigation a {
    color: #333;
    text-decoration: none;
}

/* Add some padding to the content area */
.content-area {
    padding: 20px;
}
Important Considerations:
- Backup Your Site: Always create a backup of your website before making significant changes, including adding custom CSS.
- CSS Specificity: Be aware of how CSS specificity works to avoid conflicts between different styles.
- Browser Compatibility: Test your custom CSS on different browsers to ensure it works correctly.
- Performance: Avoid excessive use of custom CSS, as it can impact your site’s loading speed.
By following these steps and tips, you can easily customize your WordPress site using the UltimaKit for WP plugin and make it truly your own. Happy styling!
Try Pro Module From UltimaKit For WP Pro: Advanced Custom JS & CSS